Picture This: Timeline Graphic Tools for Communication
 The human brain processes visuals faster than text. Whether you are creating a persuasive argument, informing clients about a matter, keeping your team on track, or want to add visual interest to your website or social media, a timeline can provide a lot of information at a glance. Learn how to create timeline graphics with tools you already have and use them where you need them.
How can a timeline help? In court if you need to present a clear overview of events and circumstances a timeline makes it easy to see and understand. Do you need to explain a process, such as a divorce or real estate transaction? A timeline provides a visual guide to the client. Would you like to use a timeline graphic on your website to show the typical stages of probate? Create your timeline and save it as a graphic to put on your website or social media. Or use timelines internally to create a project timeline from a spreadsheet.
One thing to keep in mind is that while you can create complex timelines you will want to make them easy to read. Keep the font big, don’t include too many minute details if you can help it. You can explain in text, you want to make this “big picture” information. One of the reasons that PowerPoint slides were so maligned by Edward Tufte (“Sentences are smarter than the grunts of bullet points. PPT templates for statistical graphs and data tables are hopeless”) is that people try to include too much information or obfuscate underlying data. If you use timelines to make a point you can use visual communication and provide any detailed information, as necessary. A cardinal sin of slide presentations is if you must apologize to the audience that they can’t read what is on the screen.
In PowerPoint
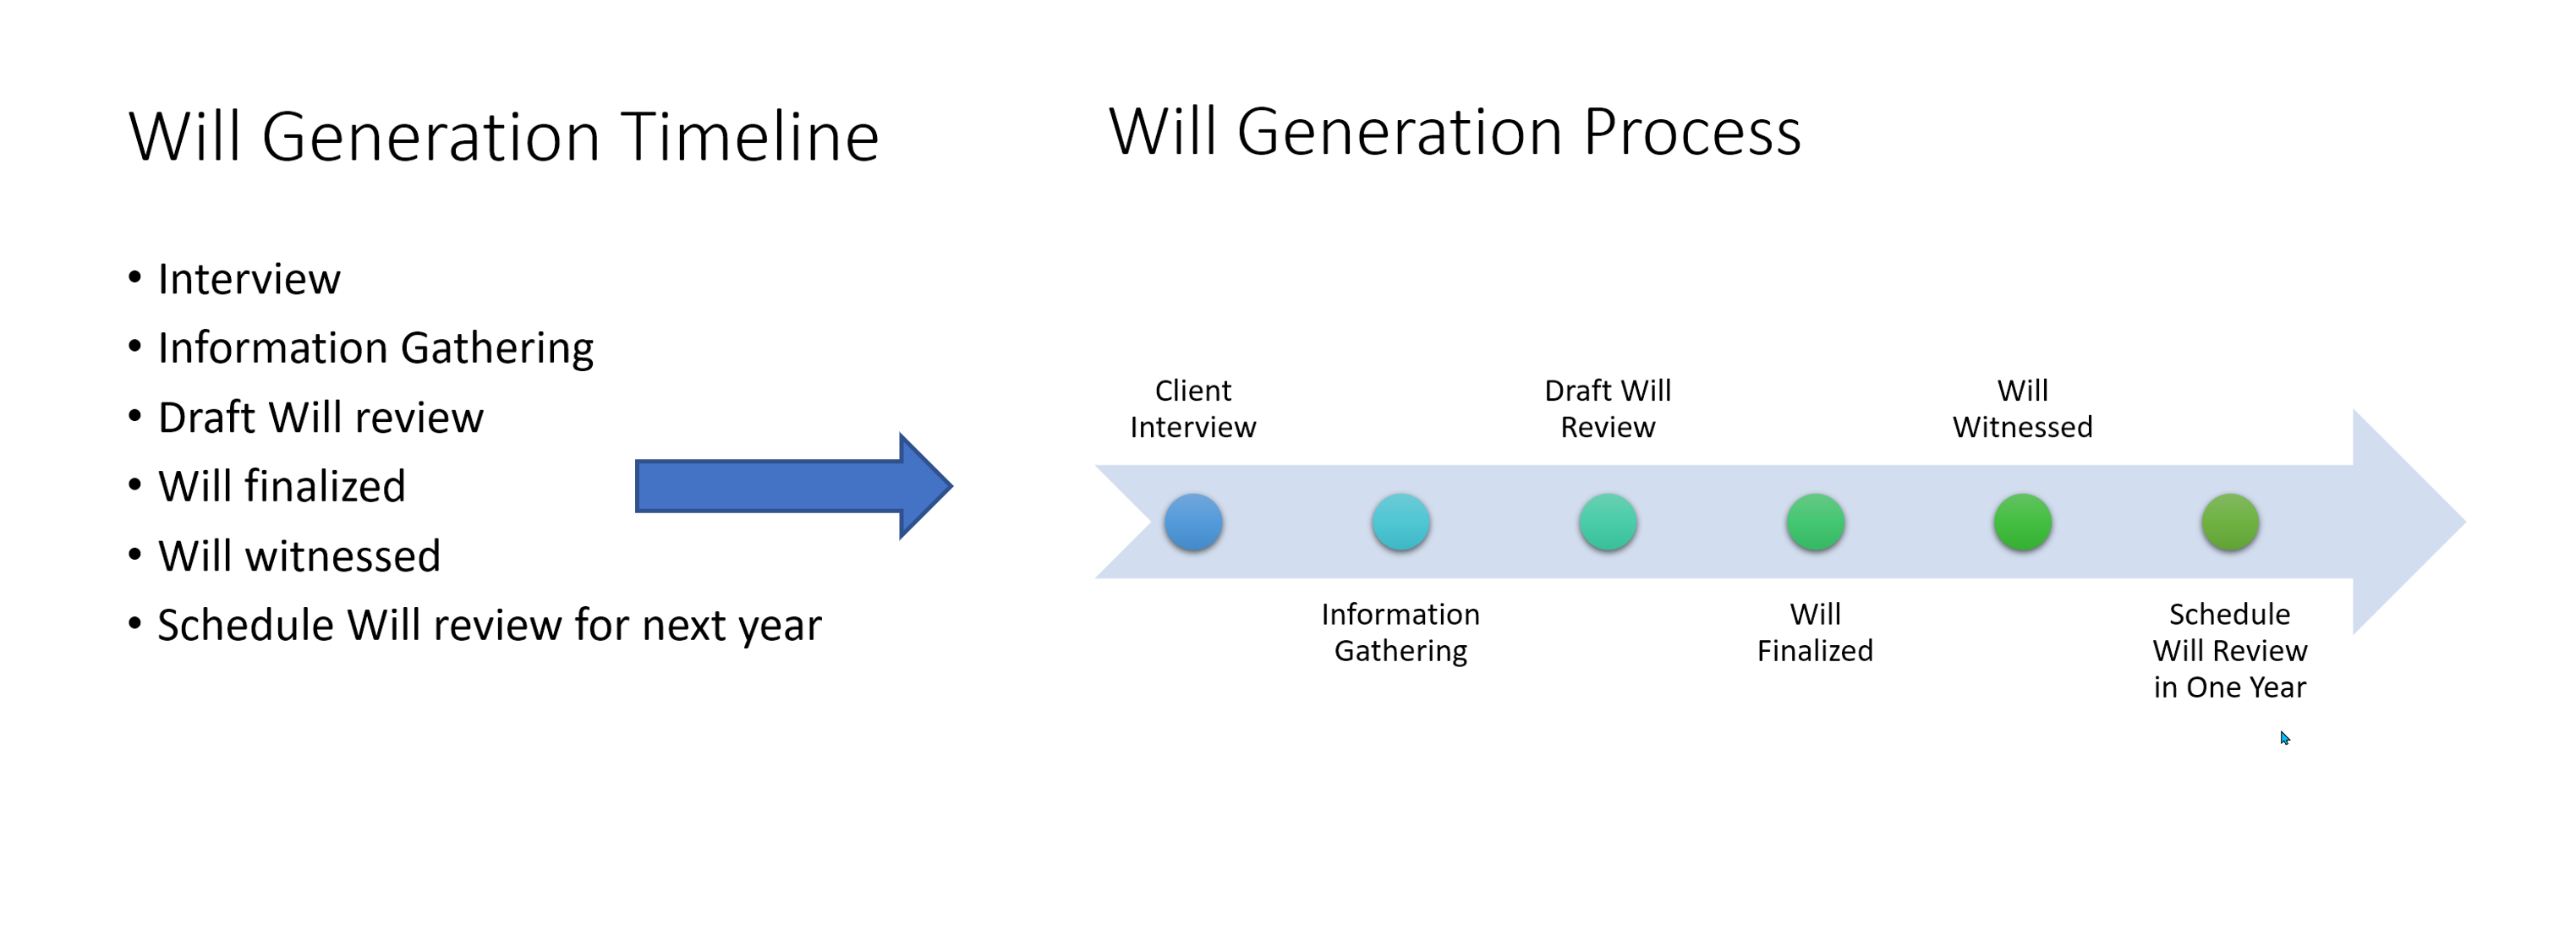
To create a timeline in Microsoft PowerPoint you can begin by generating a plain slide with bullet points. Select the bullets and right click and choose “Smart Art” from the menu or click “Convert to Smart Art” in the paragraph group in the Ribbon. Choose the Basic Timeline layout. From there you can add text levels, colors, shapes and additional text in the SmartArt Design tab that appears in the Ribbon. Here is a complete tutorial.
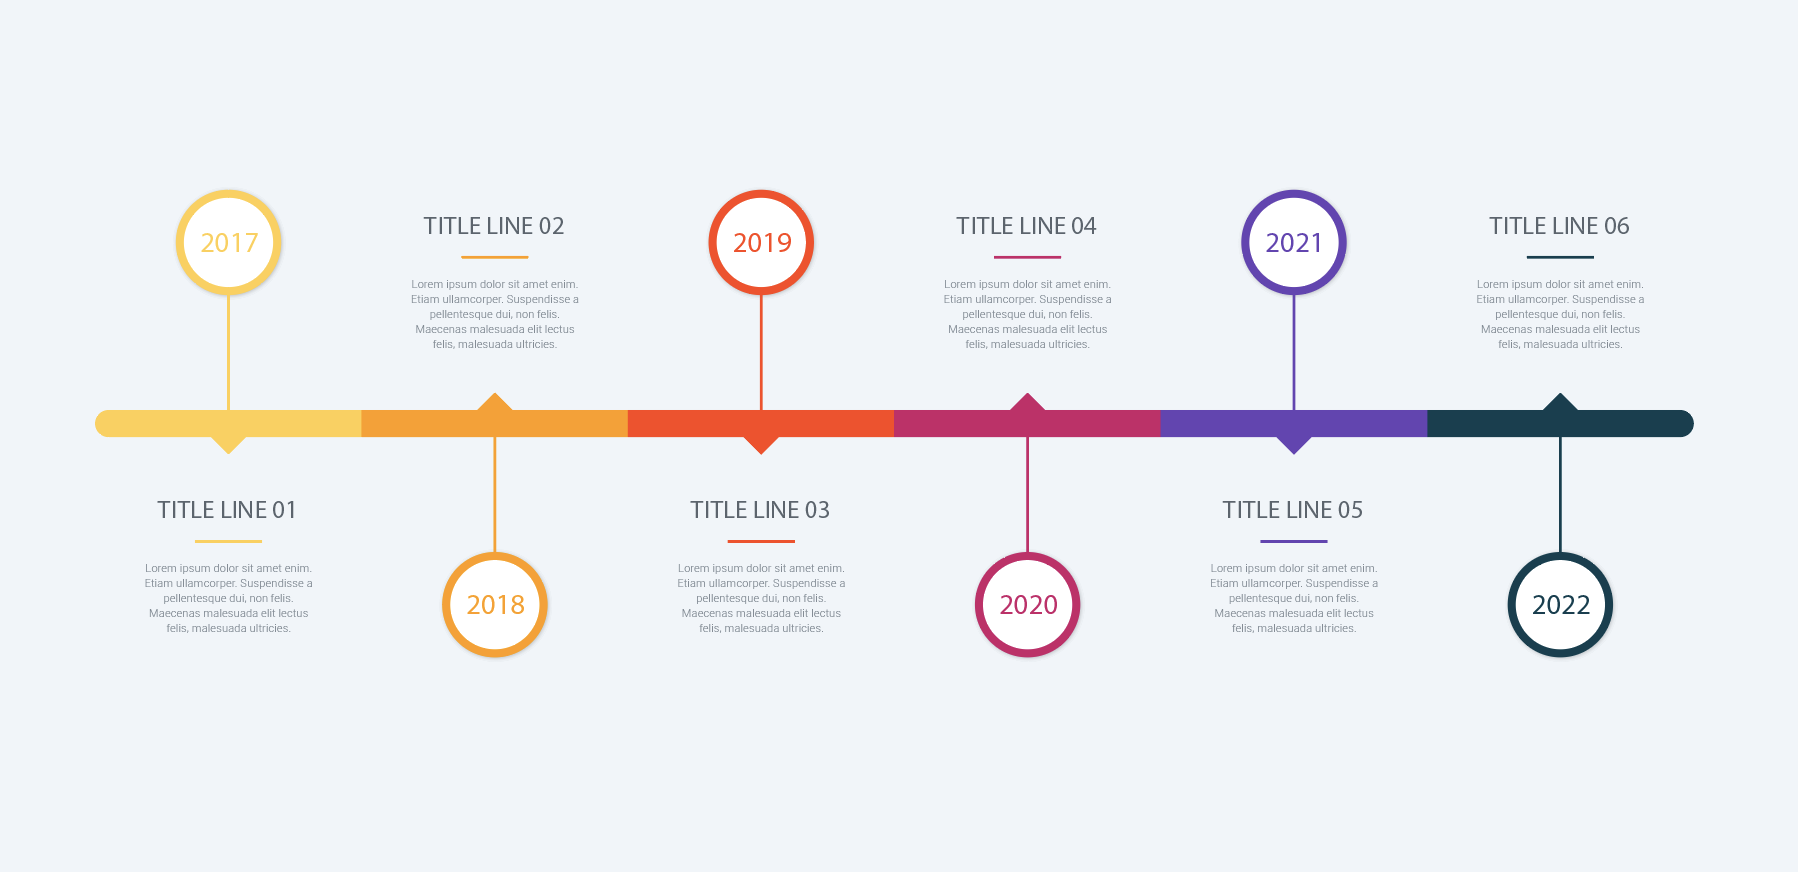
If you want to use your timeline as a graphic in social media, in documents, or online select the timeline, right click and choose “Save As Picture”. The following is quite a simple example, but you will see that it is much more pleasing to the eye.
In Excel
The process to create a timeline in Excel is mostly the same as the process in PowerPoint. You can copy and paste a column or row from the spreadsheet. If you add a timeline to a spreadsheet, you can highlight information in the spreadsheet that might otherwise be difficult to see. Here are complete instructions.
Templates from Microsoft
Of course, you may want to create a more sophisticated timeline, but don’t have the time or inclination to create one from scratch. Microsoft has free timeline templates for all sorts of use cases. For instance, here is a project timeline with milestones for Excel. The easiest way to find Microsoft templates is to go into PowerPoint (or other Office software) and create a new file and search for templates. For instance, in PowerPoint in the File menu click new and then type “timelines” into the “Search for online templates and themes” box. You can, of course, get more granular by adding more keywords like “event timeline” or “history timeline”. Then click on the template, click the “create” button and download it. It will appear on the screen, and you can edit the chart. If you don’t like it just delete it!
Alternatively, you can go to https://templates.office.com/ and search templates, filtering by application. You can download the template or open it in the application in the browser.
Add-ons for PPT
If you want to create a more sophisticated timeline, or just need a bit of handholding Office Timeline is a PowerPoint add-on. You can also use it through the browser if you are on a Mac, as the add-in only works with Windows. There is a free version, as well as a pro edition for $99 per year. While the timelines described focus on project timelines, they also offer templates for legal professionals.
The add-on makes it quite easy to create a sophisticated timeline from a template or from scratch. You can import data from other applications and export the timeline data to Excel. If you want to use their templates, you will need to pay for the Basic Edition for $59 per year. Otherwise begin from nothing, choose the layout style and then fill in the blanks with their wizard.
Stand Alone Tools
If you need something more sophisticated there are legal specific tools available. For instance, Smartdraw has legal templates for everything from organizational charts to crime scenes. There is a team version for $6 per user per month, minimum 5 users or an individual plan for $10 a month.
Thomson Reuters has a product called Case Timeline to help create litigation timelines of case events that integrates with Case Notebook. LexisNexis has CaseMap Cloud, which includes auto-creation of timelines. CaseFleet is case management software with tools to review evidence, organize facts, and identify trends. It comes with visual timeline views and more. The Starter edition is $30 per user per month. TrialLine integrates with Clio to create visual timelines with data already in Clio and costs $129 per user per month.
These are just examples, there are lots of options with lots of price points.
Conclusion
You can easily create timelines at a variety of price points for all sorts of needs in your law practice. You just need to think creatively and consider how visualization can help reach your audience.